
So, you’re ready to dive in and craft your very own mechanical keyboard. Be it the quest for a gaming advantage or the pursuit of that perfect typing rhythm, this guide serves as your compass, steering you towards creating the keyboard that fits your dreams like a glove.
Size Matters: Choosing Your Keyboard Size
First things first, decide on the size of your keyboard. From full-sized keyboards that offer all the keys you’d ever need, to sleek 40% or Macropad options that prioritize minimalism and portability, there’s a form factor for every taste. Keep in mind that smaller doesn’t necessarily mean easier to build!
Feature Focused: What Speaks To You?
Now, let’s talk features. Fancy a keyboard that lights up your gaming nights with stunning RGB effects? Or perhaps, you’re all about personalization and would love a QMK Firmware compatible board? Need the convenience of a USB-C port with a detachable cable? The ball’s in your court – choose what resonates with your preferences!
Why Components Matter
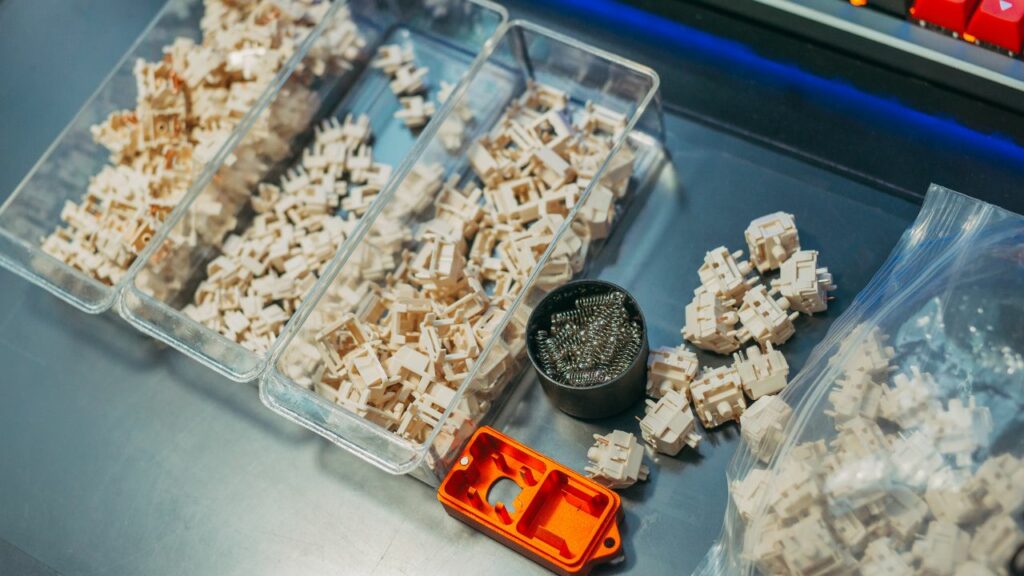
Now, let’s dive into the heart of the matter – components. Imagine this as the moment where we don our metaphorical lab coats and delve into the gritty details. Your custom mechanical keyboard journey will involve key elements like a PCB (printed circuit board), case, plate, stabilizers, switches, and keycaps. Each of these components holds significant importance in shaping your tailor-made keyboard experience.
For PCBs, you can choose from standard ones that require soldering or hot-swappable types that let you change switches on the fly. If DIY dazzles you, then through-hole PCBs might be more up your alley.
When it comes to cases and plates, materials matter! Plastic cases are light and budget-friendly while aluminum ones bring durability and heft. Acrylic cases offer some unique aesthetics especially when paired with RGB lighting. Mixing and matching colors between case and plate can also add a personalized touch to your creation.
The right stabilizers can make or break your typing experience – literally! There are different types available including plate-mounted, screw-in and snap-in varieties – choose what makes sense for your build.
Ah, switches – the heart of any mechanical keyboard! There’s no “best switch” here; it all boils down to personal preference. From linear reds offering smooth keystrokes to tactile blues giving you satisfying clicks – remember that different strokes work for different folks!
Last but not least – keycaps! ABS keycaps are durable but may develop a sheen over time whereas PBT ones produce more tactile sound but could be pricier. Feel free to experiment here – after all it’s one of the easiest parts to swap out!
Finding Your Components: Where To Shop?
You have two main options for buying parts: online stores (like Amazon) where you can grab in-stock items quickly or group buys which might have exclusive items but often come with longer wait times.
Putting It All Together: The Journey of Building
Having explored all the necessary components and their sources, it’s time to immerse ourselves in the actual assembly process. Picture it as a jigsaw puzzle where every piece has its special spot. Your first move is to secure your stabilizers onto the PCB, followed by mounting your plate atop. Then comes the moment to slot your switches into their designated spots on the plate and solder them onto the PCB (assuming you’re working with a standard PCB). As a final step, nestle the assembled PCB and plate into your case and crown it with your selected keycaps. Remember, patience is not just a virtue here; it’s crucial!
Customization: Making Your Keyboard Truly Yours
One of the best parts about building a mechanical keyboard is customization. Want to match your keyboard with your gaming setup’s color scheme? Go for it! Prefer a minimalist look? No problem! There are countless keycap sets out there in various colors and themes – letting you express yourself in every keystroke.
Maintenance: Keeping Your Keyboard in Top Shape
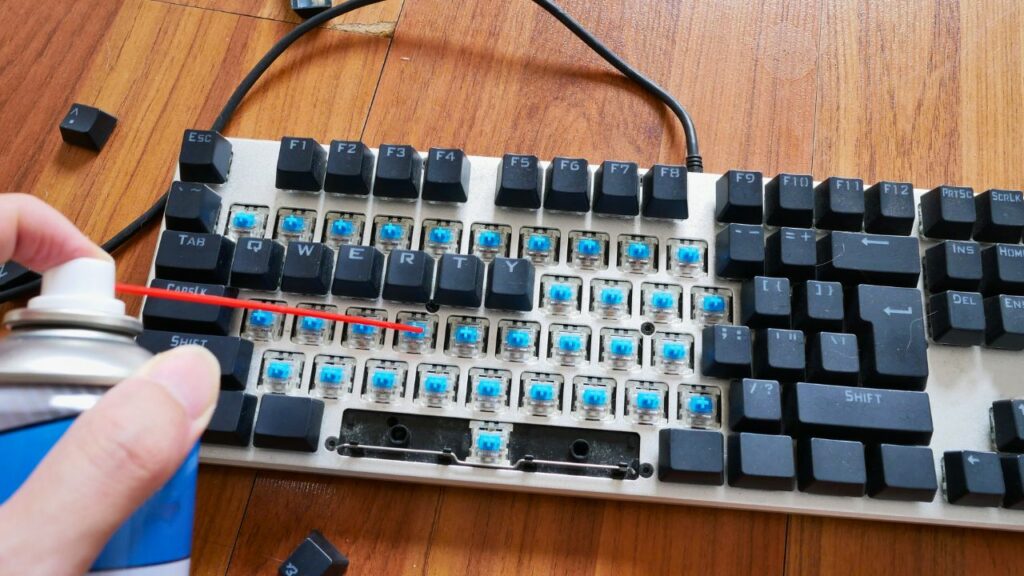
A custom mechanical keyboard can be an investment – both in terms of time and money. Hence, proper maintenance is crucial for prolonging its lifespan. Regular cleaning, occasional switch lubrication and checking for loose connections can keep your keyboard feeling fresh as new.
Upgrades: The Journey Never Ends
Building a mechanical keyboard is not a one-time event – it’s an ongoing journey. As you use your keyboard more and more, you might find certain aspects that could be improved. Maybe you’d prefer a different switch or perhaps a sturdier case? You’re always free to upgrade parts of your keyboard as needed – another beautiful aspect of these custom creations.
Frequently Asked Questions (FAQ)
1. Is building a mechanical keyboard hard?
While there’s definitely some learning curve involved, with patience and the right resources (like this guide!), anyone can build their own mechanical keyboard.
2. How much does it cost to build my own mechanical keyboard?
The cost can vary widely based on the parts you choose – anywhere from $100 for basic builds to $500+ for high-end ones.
3. Where do I buy parts for my mechanical keyboard?
You can buy parts from online stores like Amazon or specialized vendors like TheKeyboardCo. Group buys are also an option if you’re looking for exclusive items.
4. What size should I choose for my first build?
Many first-time builders find 60% or Tenkeyless keyboards to be good starting points due to their balance between functionality and ease of build.
A Final Note Before You Dive In…
Crafting your own mechanical keyboard is a personal journey that adds a unique touch to your gaming setup. But bear in mind, it’s more than just assembling metal and plastic components; it’s about breathing life into a creation that mirrors your individuality.
Granted, the DIY path may have its share of hiccups (check out a few tutorials before you plunge in!). But trust me, when you tap those newly-installed keys on your custom-made keyboard… it’s a feeling that’s second to none!
So go forth on this journey with patience and creativity at heart – after all this isn’t just about building a tool; it’s about creating an extension of yourself! And if budget is a constraint don’t hesitate to check out these budget-friendly mechanical keyboards.
Happy building!