If you’re a gaming or typing enthusiast, you know the importance of having a smooth mechanical keyboard. They’re admired for their tactile feedback, durability, and of course, that satisfying click-clack sound. However, occasionally, a sense of discord may interrupt your harmonious relationship with your keyboard – the dreaded scratchy switch.
The Annoying Scratch of Switches
Having scratchy switches can feel like finding a pebble in your shoe or a popcorn kernel stuck in your teeth – irritating and incessantly present. Dust, debris, worn-out keycaps, or even oxidation on metal contacts can be responsible for your switch-related woes. But worry not! There’s a straightforward solution to your problem, and this step-by-step guide will help you restore your keyboard to its former glory.
Identify the Culprit
Before diving into repair work, it’s essential to identify the source of the scratchiness. Is it the switch itself, or are the contacts causing the problem? Regularly checking the switches every few months can help detect issues early and prevent the dilemma of a scratchy keyboard.
Tools You’ll Need
As every seasoned keyboard enthusiast knows, keeping your equipment in prime condition is part of the game. For this mission, arm yourself with a keycap puller, a soft-bristled brush or toothbrush, a container for keycaps, and a lubricant specifically designed for mechanical keyboard switches.
How to Fix Scratchy Switches – Time to Fix
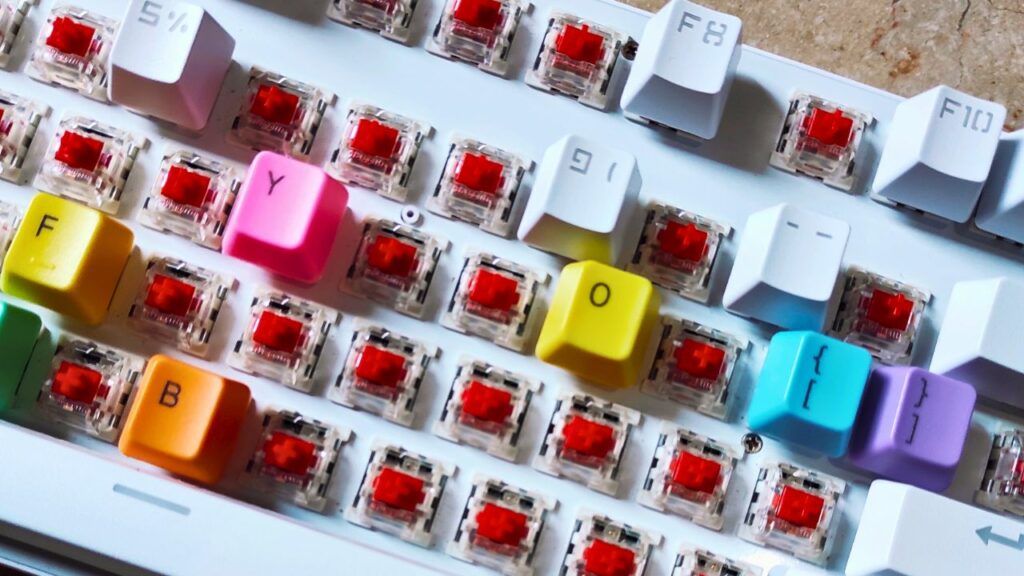
Start by removing the keycaps. You can do this by using a keycap puller, carefully wiggling each keycap until it pops off. Once all keycaps are removed, place them in a container to prevent any misplacement.
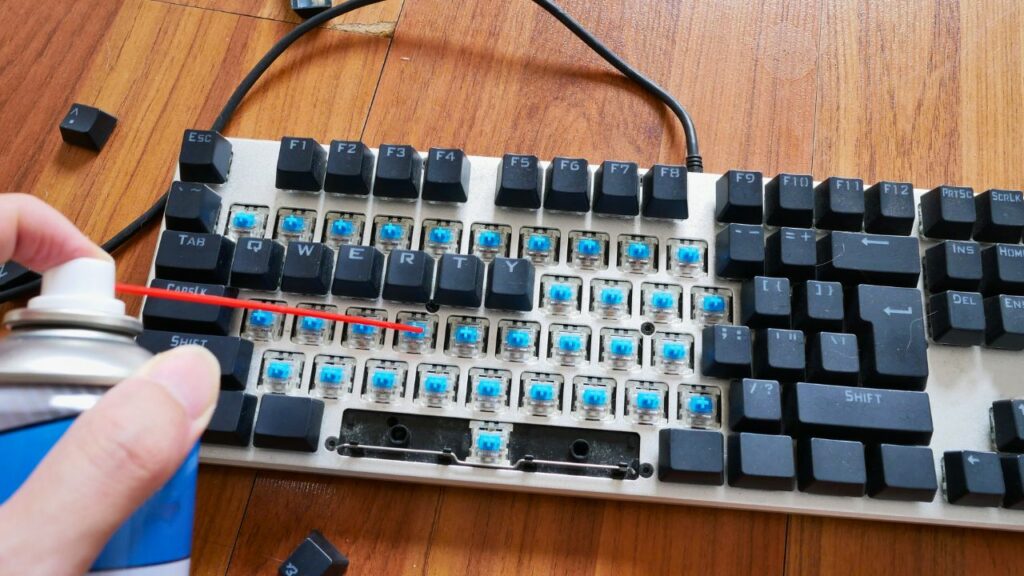
Next, clean the switches and stems. Using your soft-bristled brush or toothbrush, gently brush off dust, debris, or any visible grime. If you’re dealing with oxidation on the contacts, you can delicately pick it off using a toothpick. Remember to always be gentle to prevent causing any damage.
After cleaning, it’s time to lubricate the switches. Using your mechanical keyboard switch lubricant, apply a small amount to the switch stem and inside the switch housing. Be careful not to over-lubricate, as too much can make the switch feel sluggish.
Once all switches are cleaned and lubricated, it’s time to reassemble your keyboard. Carefully replace the keycaps using your keycap puller. You can consult the guide on how to change mechanical keyboard switches if you encounter any issues during reassembly.
After everything is back in its place, test the switches. If all goes well, the scratchy sounds and feel should have disappeared, leaving you with smooth, responsive switches.
Keep it Squeaky Clean
Regular maintenance is key to prevent scratchy switches from creeping up on your keyboard again. Depending on your usage and environment, cleaning your keyboard switches every six months to a year can help keep them in top condition.
In conclusion, fixing scratchy switches is akin to taking care of a prized possession. With a little patience and regular upkeep, you can ensure your mechanical keyboard provides a smooth, enjoyable typing or gaming experience for years to come. So here’s to many more satisfying click-clacks!
Switch Disassembly and Cleaning: A Deep Dive into Hygiene
Sometimes, a thorough clean demands more than just a surface sweep. Enter switch disassembly, an option that allows you to access the keyboard’s internals and address any hidden dirt or debris. Remember, as with any operation, go slow, be cautious, and keep track of the different components.
Start by using a switch opener (a handy tool available online) to open the switch. Place the switch in the designated area, press down, and the top housing should come right off. Make sure to keep all the parts organized in a tray or container for ease of reassembly.
Next, remove the spring and stem, revealing the switch’s inner sanctum. Using your soft-bristled brush, gently brush away any grime from the components, including the underside of the top housing.
After cleaning, it’s time to reassemble the switch. Place the stem and spring back in their respective spots, and then reattach the top housing, ensuring it clicks into place. The switch should be as good as new, with a clean, refreshed feel.
Switch Modding Options: Customize Your Way to a Smoother Experience
In the world of mechanical keyboards, the possibilities for customization are virtually limitless. If your switches continue to feel scratchy even after cleaning and lubricating, consider these additional modding options.
One popular technique is switch filming. This involves adding a thin layer of material (the ‘film’) between the top and bottom housing of the switch. Not only does this reduce wobble, but it also decreases friction, resulting in a smoother keystroke. It can be a game-changer for many, transforming an ‘okay’ switch into an ‘exceptional’ one.
Another technique is switch swapping. If a switch doesn’t meet expectations, it may be time for a replacement. This method involves exchanging the less satisfying switch for a newer, smoother one. It may seem intimidating initially, but consider it as rejuvenating an old friend rather than bidding farewell. The market is filled with options for smoother switches – browse these recommendations to find your perfect match.
The beautiful aspect of mechanical keyboards is their adaptability and customizability. From cleaning to modding, the power is literally at your fingertips to tweak, tune, and tailor your keyboard to perfection. With these tips and techniques in your arsenal, scratchy switches don’t stand a chance!